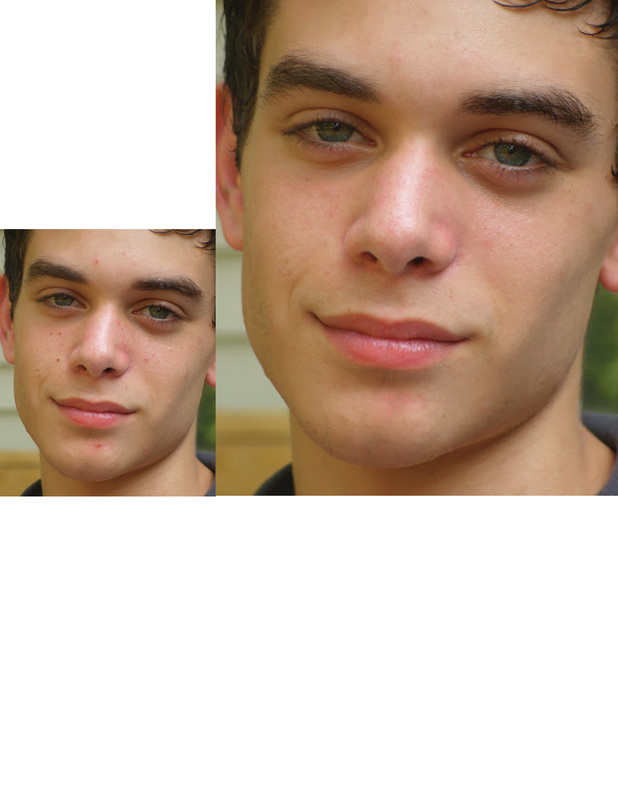
 To begin I copy and pasted the image of the boy with blemishes and duplicated the layer. Next, I used the healing brush tool to hide all the blemishes and reduce the shine on his nose. After I was done I resized the layer to show the before and after effect.
0 Comments
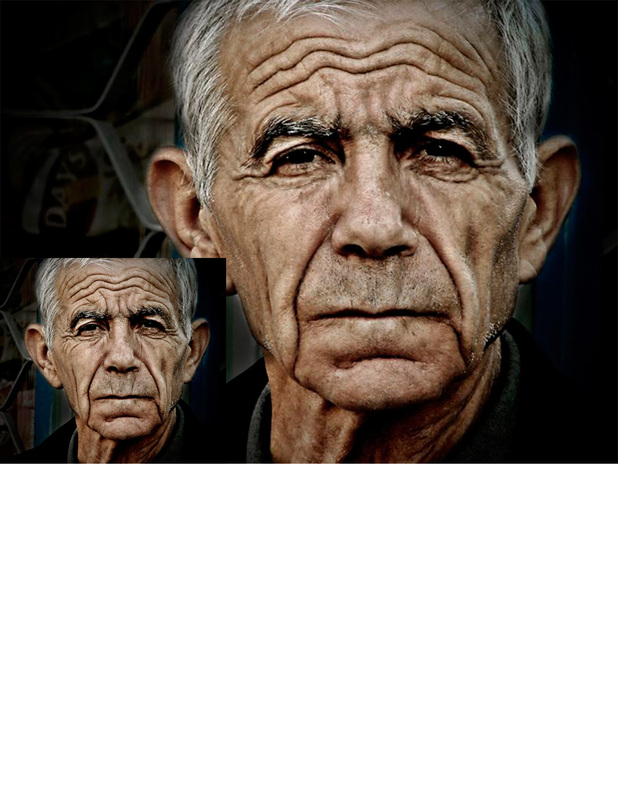 The first step was to copy and paste the image of the man and duplicate the layer. Next, I used the Healing Brush Tool to mask the wrinkles and blend the wrinkles with the rest of the skin. After I was done I resized the layer I edited to show the before and after effect.
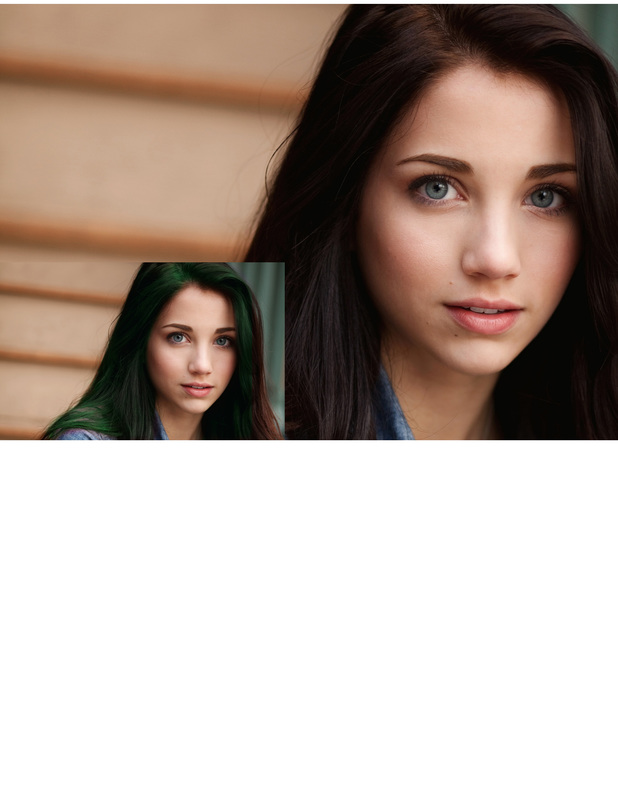 The first thing I did was search for an image of a model and copy and pasted the image onto Photoshop. Next I duplicated the layer and and painted the bottom layer a green color. Afterwards, I change to the black which exposed the color beneath and colored her eyes and hair green. Finally I selected the exposed layer and used Ctrl + T to resize the layer to show the before and after effect.
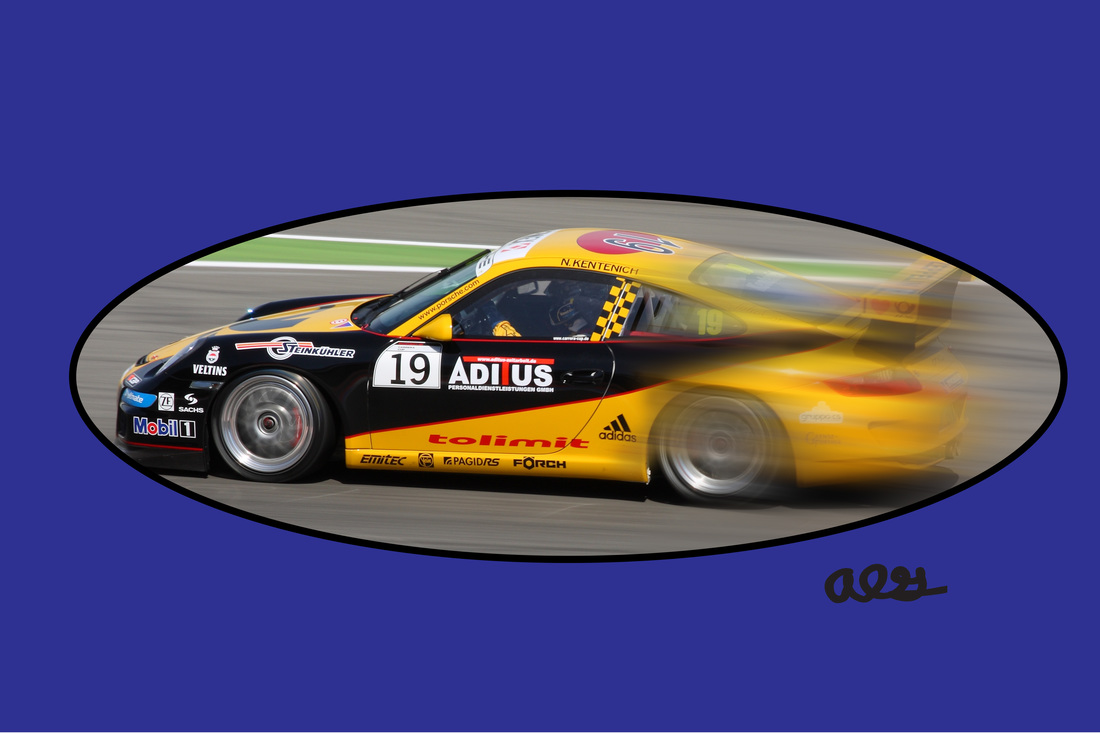 First I copied a photo of a race car and copied the photo onto another layer. Then I created a layer mask and a motion blur on the copied photo and merged the two photos. Next, I made an ellipse and used the clipping mask so that the layer beneath is exposed. For the final touch, I added my signature on the bottom left.
|
