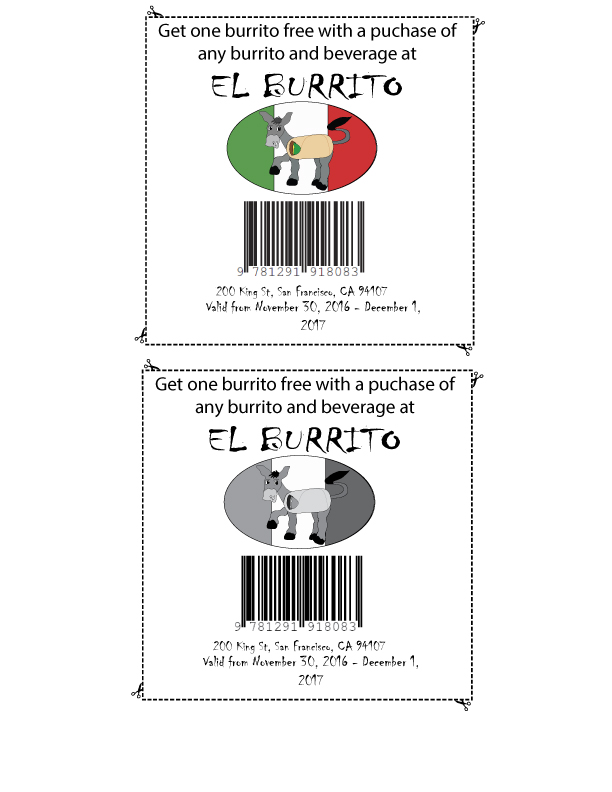
 First I made a 4X4 square using the rectagle tool. After, I used the type tool to add text and copy and pasted the logo and title of our restaurant and the information below. Then I copy and pasted a bar code to the coupon and added a "Cut here" outline. Lastly I copied the same image and and reduced the saturation to make it black and white.
0 Comments
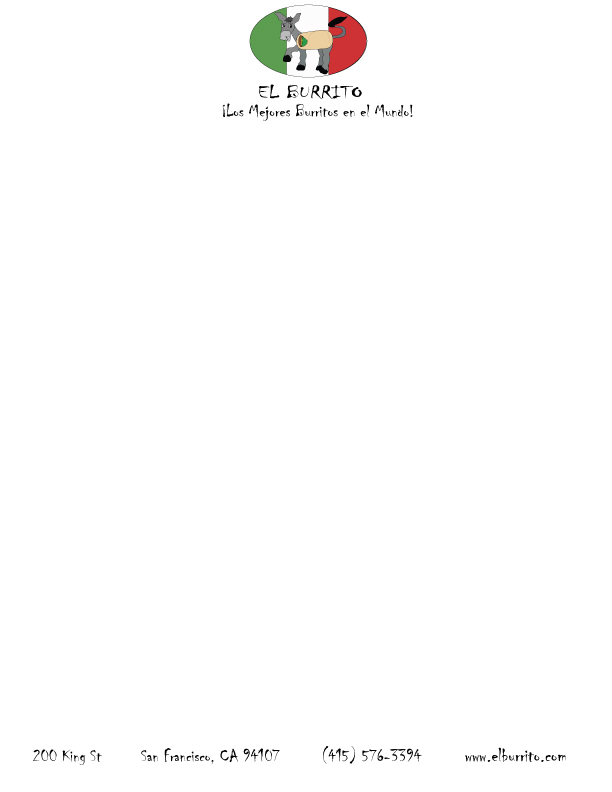 The first step was to copy and paste the logo, restaurant title and the slogan. Then I copied the address, phone number and the website onto the letterhead.
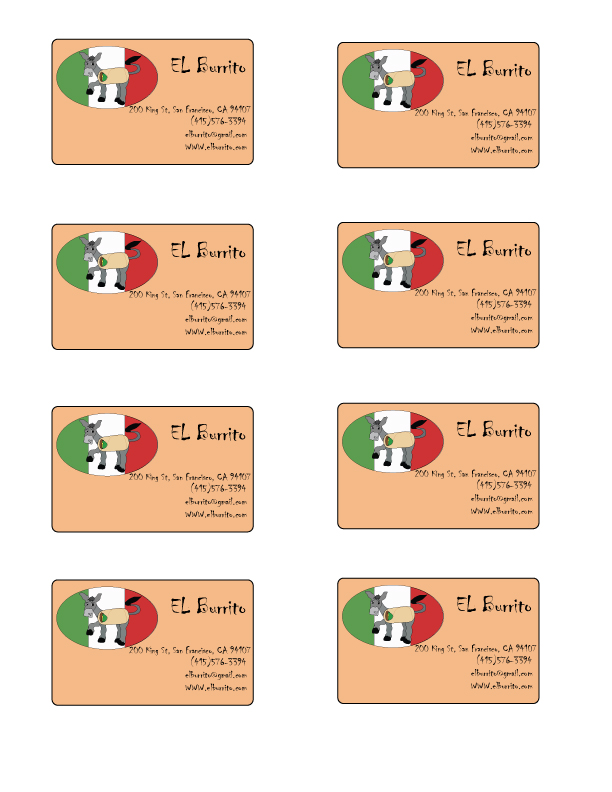 First, I used the curved ractangle tool to make the first card and I copy and pasted the logo, restaurant name, adress, website, phone number, and email address. Then I used the group selection tool to group all the parts together and resized the original card and made seven other copies.
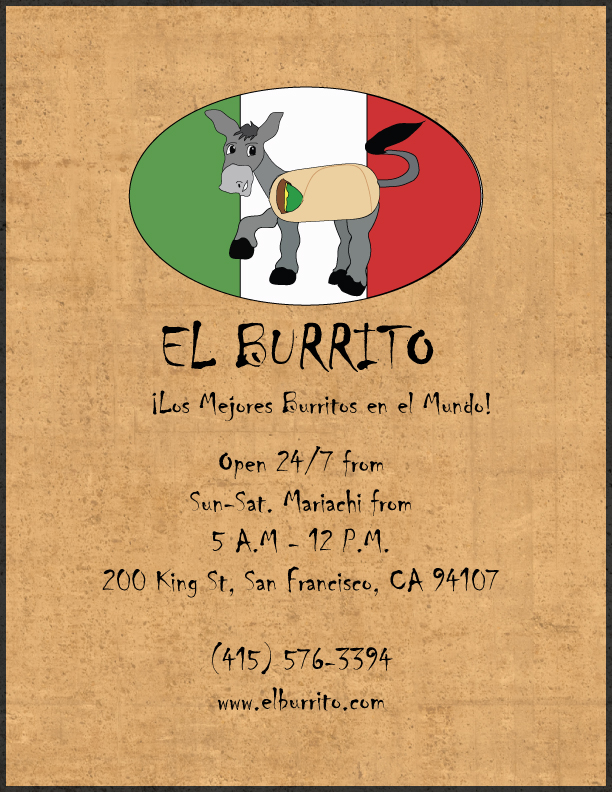 First, I used a concrete texture from textures.com. After, I used the the rectangle tool to make a rectangle the size of the paper and colored it brown. Then I changed the opacity of the brown rectangel to show the texture beneath and increased the stroke to give it a border. Afterwards, I copied and pasted the logo onto the menu cover and added the slogan, date, hours, address, phone number, and website.
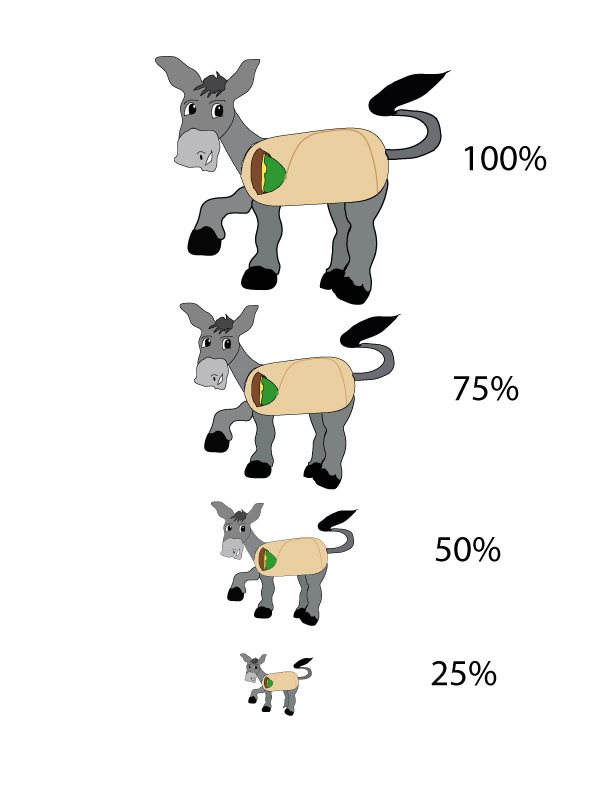 After we created the logo, I used the group selection tool to highlight all the parts and group them together to make copies. Next I used the scale feature to scale the copies to 75%, 50%, and 25%.
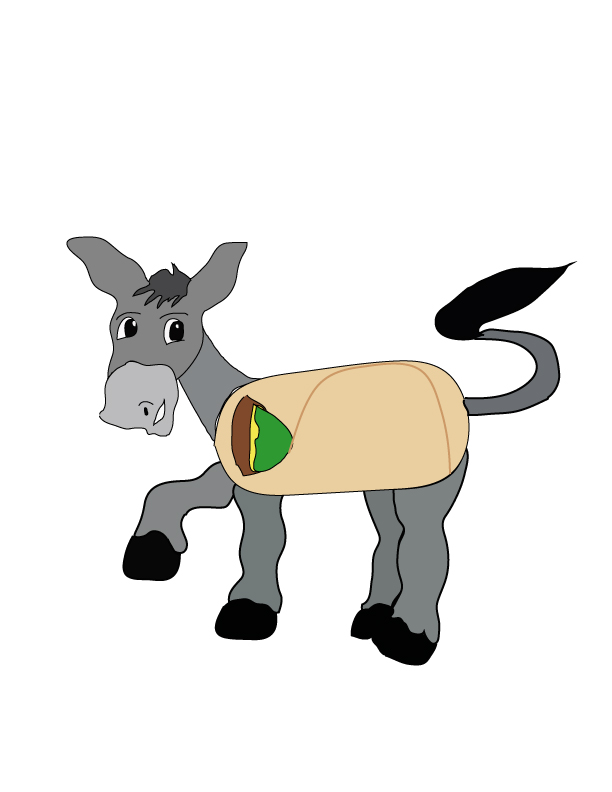 After Cristian and I came up of "El Burrito" for the name for our restaurant, we wanted to create a logo that related to the name and made this sketch. We drew the sketch first on paper and had to replicate it on adobe illustrator so we took a picture and transported it to illustrator. After, I traced the sketch with the pencil tool and gave it color.
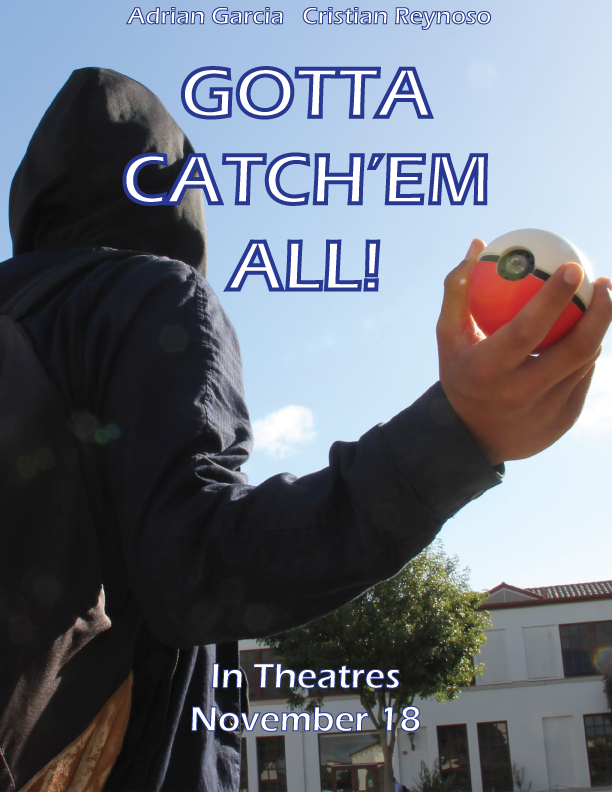 I sketched ideas for the movie poster first and then I had my friend take this picture of me. Next I uploaded the picture onto Photoshop and adjusted the photo to my liking. After, I moved the photo over to Adobe Illustrator and added the text and centered it to the page.
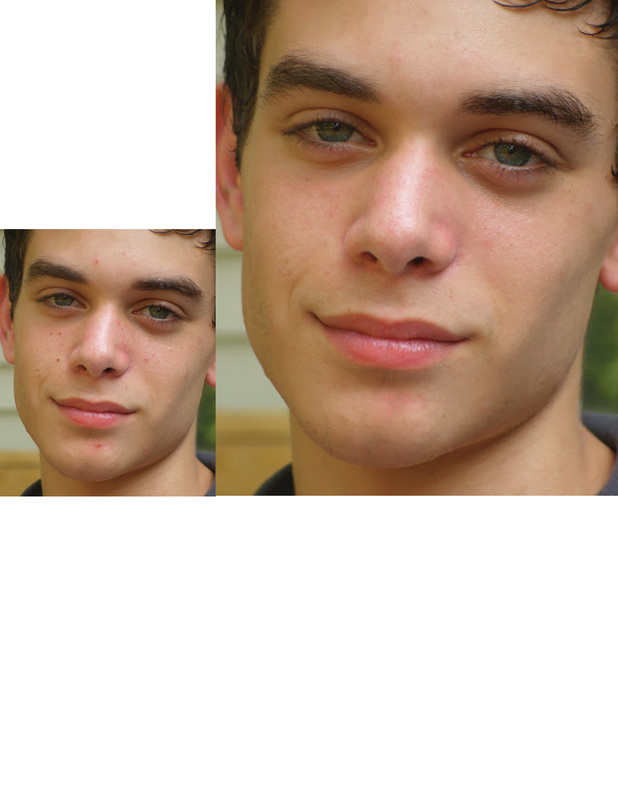 To begin I copy and pasted the image of the boy with blemishes and duplicated the layer. Next, I used the healing brush tool to hide all the blemishes and reduce the shine on his nose. After I was done I resized the layer to show the before and after effect.
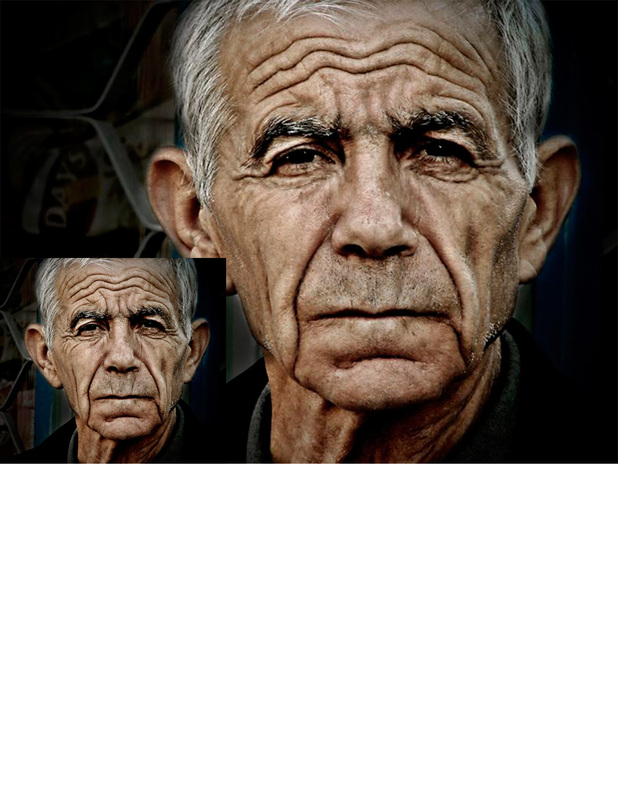 The first step was to copy and paste the image of the man and duplicate the layer. Next, I used the Healing Brush Tool to mask the wrinkles and blend the wrinkles with the rest of the skin. After I was done I resized the layer I edited to show the before and after effect.
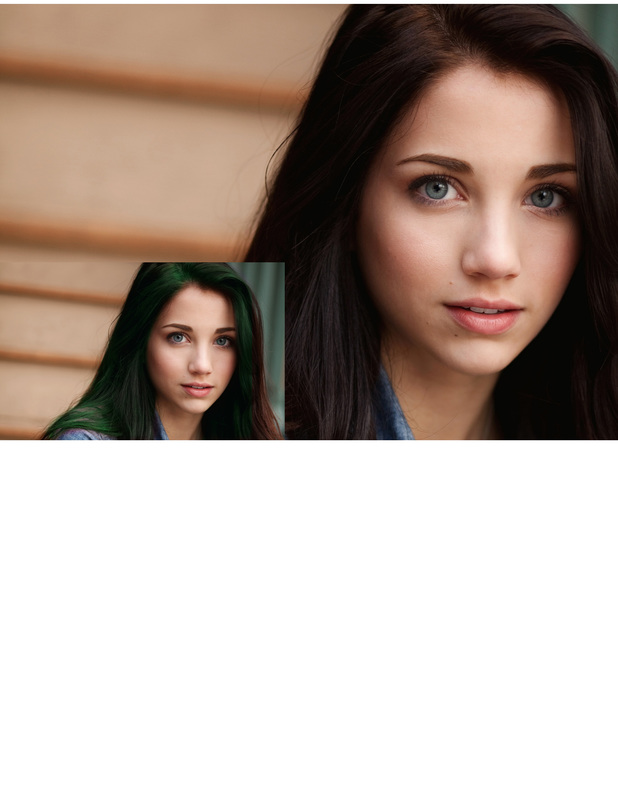 The first thing I did was search for an image of a model and copy and pasted the image onto Photoshop. Next I duplicated the layer and and painted the bottom layer a green color. Afterwards, I change to the black which exposed the color beneath and colored her eyes and hair green. Finally I selected the exposed layer and used Ctrl + T to resize the layer to show the before and after effect.
|
